
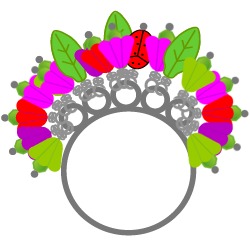
Summer Flower Ring
These pretty, summery, flower rings are made using adjustable 5 hole ring bands, glass flowers, glass leaves and a cheeky ladybird. This ring would look lovely with a summer outfit.
The beads are attached to the ring using wrapped loops so they are not fixed but are free to move and jangle.
Each ring is quick and easy to make and the only technique you need to know is how to make a wrapped loop. However they do involve adding a number of wrapped loops into each hole on the ring so they need a little bit of patience to construct.

To make this ring you will need.
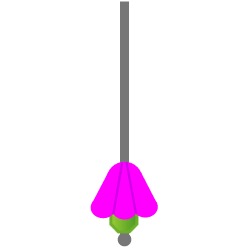
- 17 Bell Flower Beads
- 17 Olivine 3mm Fire Polished Beads (AB)
- 1 9mm Ladybird
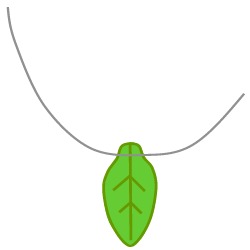
- 3 Olivine 12mm Leaves
- 1 Adjustable 5 Loop Ring (Silver Plated)
- 18 Silver Plated Ball Head Pins (2 inch)
- 30cm of 0.6mm thick silver plated wire
- Chain nose pliers
- Round nose pliers
- Wire cutters
If you are not sure what any of these items are please have a look through our jewellery making glossary.
Instructions
Step 1
Make up the headpins ready to attach to the ring loops.
Take a ball headpin and thread on:
- 1 x Olivine 3mm Fire-Polished bead
- 1 x Bellflower Bead.
Put this headpin to one side for now.
Repeat 16 times to make 17 in total.

Step 2 - Optional
You can leave the ladybird out if you don't want it on your ring. Just make an extra flower headpin, as in the step above, instead.
Take another ball headpin and thread on:
- 1 x Ladybird
Put this headpin to one side as well.
Step 3
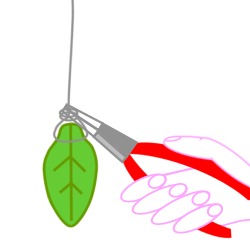
Make the leaf wires.
Take about 9cm of 0.6mm wire and thread on a leaf bead. Push the leaf along the wire until it is 3cm from one end.
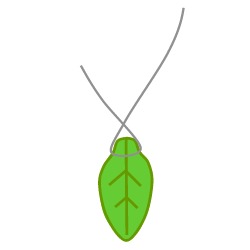
Cross the two ends of the wire over the top of the leaf bead.
Using your finger and thumb wrap the short end of the wire around the long end a couple of times.
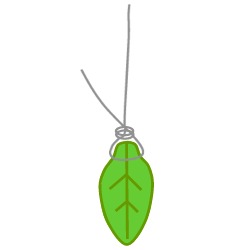
Trim the end of the wrapped wire close to the loops and squash the end in with a pair of chain nose pliers.
Make 2 more of these, to give 3 in total, and put to one side.
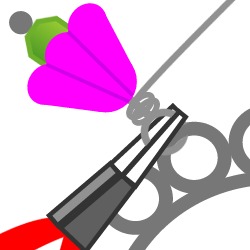
Step 4 - Start to attach the flowers to the ring.
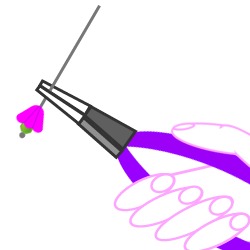
Take one of the headpins with a flower bead on the end. Place the headpin between the pliers about a third away along.
You want the gap between the bead and the pliers to be just big enough for 2 loops of wire to go around it, about 1-1.5mm.
If the gap between the bead and the pliers is too long then the beads will be too floppy on the ring.
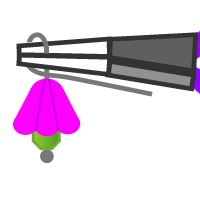
With your thumb, bend the wire over the back of the pliers and under the pliers towards the front so that it sits between the top of the flower bead and the bottom of the pliers.
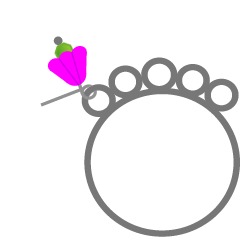
Take the pliers out and thread the loop through one of the loops on the end of the ring.
Hold the headpin loop steady with a pair of pliers held in one hand and use the other hand to wrap the wire twice around the headpin between the bead and the loop.
Trim the wire close to the wraps and squash the end in with your chain nose pliers.
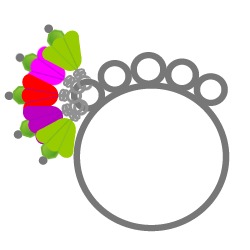
Step 5
Add another 4 flowers on headpins to make 5 in total.
As the loop on the ring starts to fill up with headpins it can get trickier to add them. This is where you need a little bit of patience and perseverance.
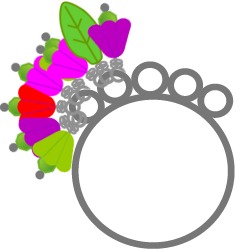
Step 6
Using the same method as above add 2 flowers and1 leaf into the next loop on the ring.
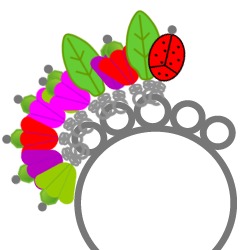
Step 7
Add 1 flower, 1 leaf and 1 ladybird into the next loop on the ring.
If you don't want to use the ladybird add 1 leaf and 2 flowers instead.

Step 8
The next step is to add another 2 flowers into this middle loop on the ring.
It is getting a bit tight to add them into the loop itself so this time add a flower into a loop attaching one of the beads already on the ring.
Step 9
On the next ring loop add 2 flower beads and a leaf bead.
On the last ring loop add 5 flower beads.
That's it, finished!